Creating dashboards and managing collections
Learn how to:
Collections - how to organize dashboards
Create your first dashboard
- From the Home page click Self Service.
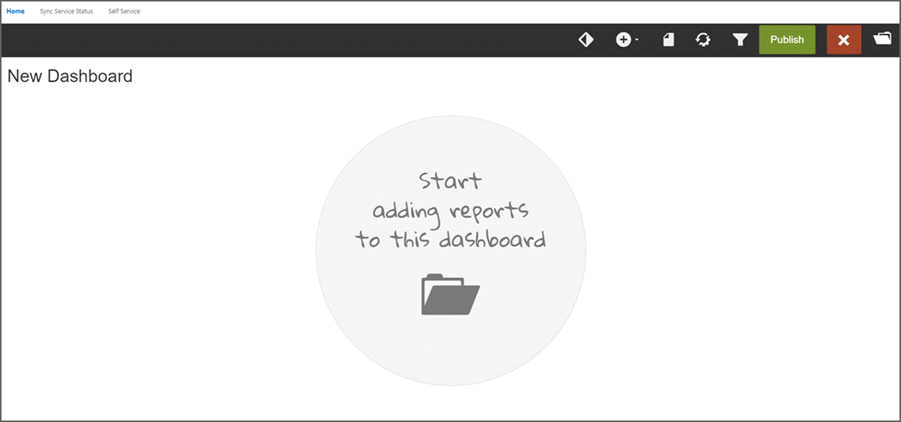
- Click
Start adding reports to this dashboard.
The Add Reports page displays a list of configured reports.
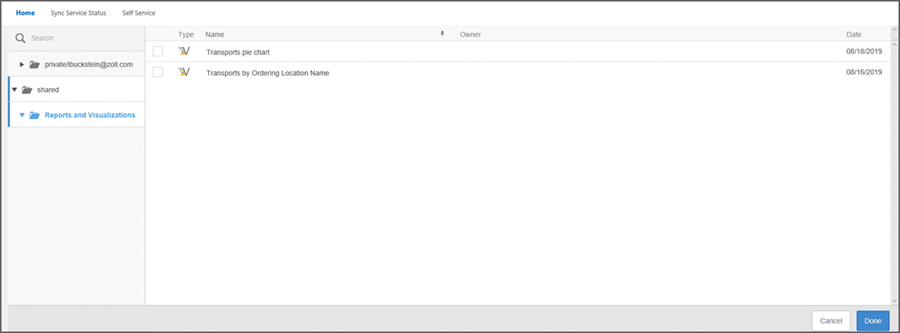
- To find a report, open the folders and scroll down the list of report, or use search to find reports by name. The reports list also shows the columns used in the report and the type, or style of the report.
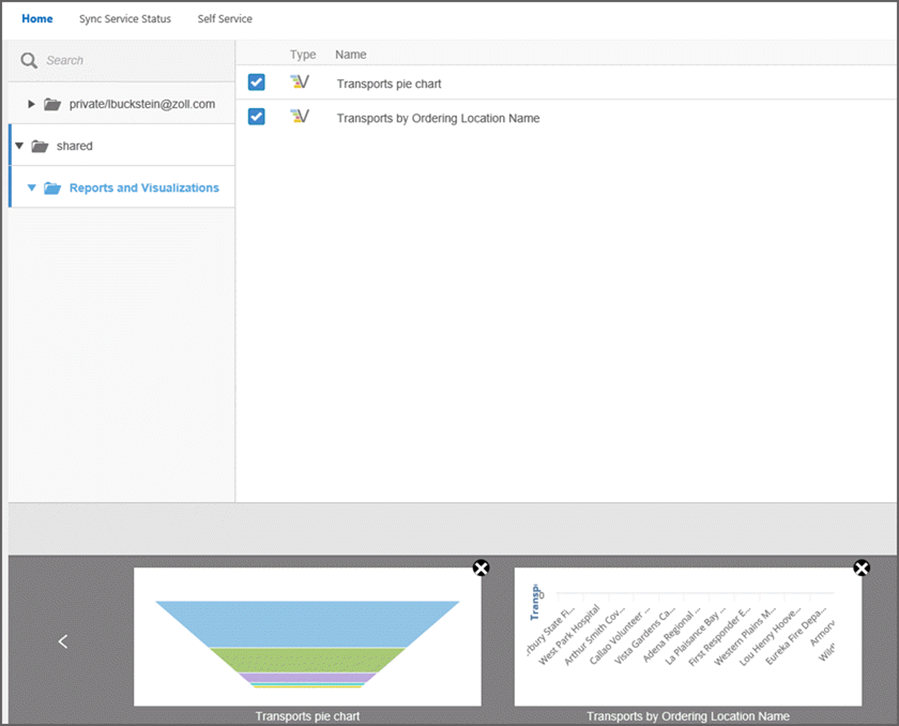
- Check the reports you want to use.
As you check reports, thumbnails are added to a carousel at the bottom
of the page. If you decide against a report, remove its thumbnail, or
uncheck the box.
- When
you are finished, click Done.
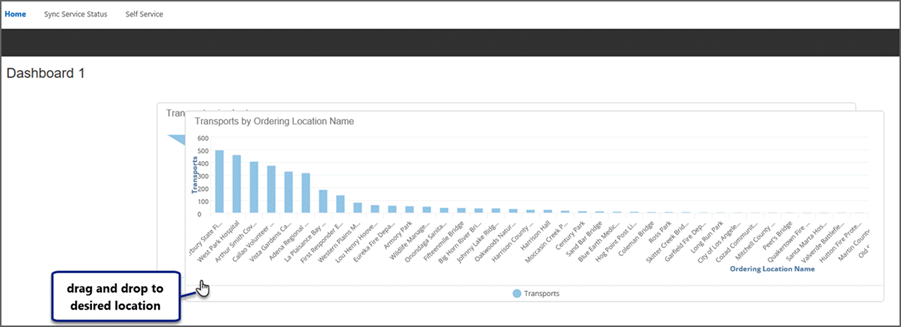
The reports are stacked on the dashboard. To organize them, simply drag
and drop the dashlet to the desired location.
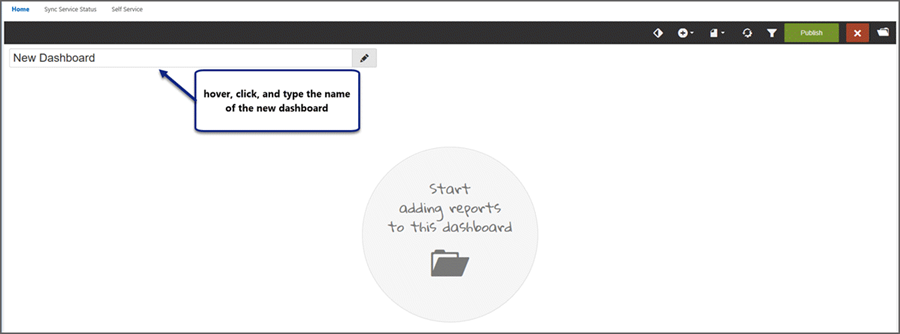
- Click the dashboard name and enter a name that best describes the content of the dashboard. Click the check mark to save the name.
- Click Publish to save the dashboard.
Add a dashboard
If you already have one or more dashboards, the default dashboard displays when you access Self Service. The default dashboard is the first dashboard in the first collection.
- To make a
new dashboard, click the folder
in the upper right corner.

- A list of collections or folders display. Hover over the collection that will hold the dashboard, and click the add dashboard icon (plus sign).
- If you want
to start from an existing dashboard, locate the name in the collection
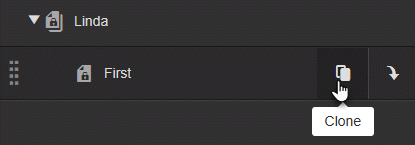
and click Clone, then click
Edit to make changes. By default
the clone is put into the same collection.
- Name the dashboard
by hovering, clicking, and typing.
- If your title does not follow the naming conventions, or if another dashboard with that title exists in the same collection, a message displays.
- Click Publish to save the dashboard.
Collections - how to organize dashboards
Self Service dashboards can be grouped into collections (folders) for logical organization, grouping, and managing related dashboards.
As you work on a dashboard or collection, you can make it private by designating it as 'personal' so that other users of the space won't be able to see your work-in-progress. After you are done working on the dashboard, change it to 'public' mode.
Recommended organizational flow
There are two folders in which you can add more dashboards. They are:
- For All Users: Dashboards under this folder can be viewed/used by anyone. Users with 'Content Creator' permission can also edit/change these dashboards.
- For
Developers: Dashboard under this folder can be viewed and edited
by users with the 'Content Creator' permission. Users without the
'Content Creator' permission cannot view a dashboard under this folder.
As a developer, it is a good idea to create your dashboard under the 'For Developers' folder. That way, other developers can view and edit the dashboard as needed. When the review/edit of the dashboard is complete, move the dashboard to "For All Users' so all Insights users can access it.
Note: In addition, you can create a personal collection for reports and use it as a sandbox area.
Create a personal collection
- Click the
dashboard folder button to open the dashboards drawer.

- Click Add
(+) to add a new collection.

- Click PersonalCollection.
- Enter the collectionname and then click the checkmark.
- Rename collection: Click the down arrow (more actions) by the collection name.
Add a dashboard to a collection
Hover over the Collection name and click Add Dashboard (+).
Managing dashboards in a collection
Hover over the dashboard name and click the down arrow (more actions) to make it invisible, public, or to delete it.
Move or reorder dashboards
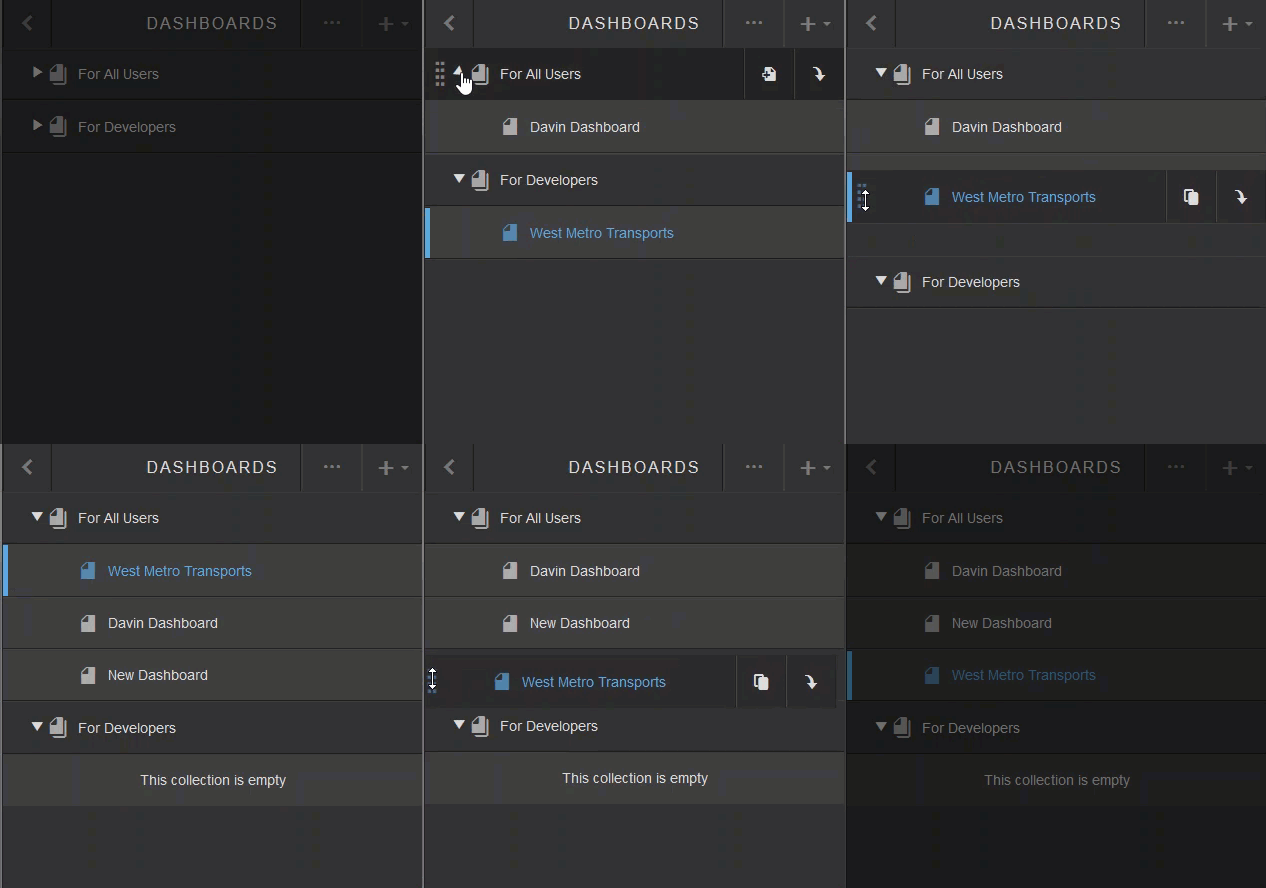
After the dashboard is finished, move it from 'For Developers' to 'For All Users'. After you move a dashboard you can reorder them.
Hover over the dashboard name and position your mouse over the blue dots. Drag and drop dashboards between collections or reorder them.
Clone a dashboard
Hover over the dashboard's name and click the clone icon.

Watch this video to see how to clone dashboards.